In this article I am going to talk about the ins and outs of setting up a brand page on Google +, the web’s newest social network.

A brand page on Google + is basically the equivalent of a fan page on Facebook and I highly recommend it for all of you budding marketeers. The more you get yourself, your business and your brand out there, the more you can turn your followers, fans and friends into custumers and sales.
Setting up your page
The very first step is to create a Google+ Profile.

To create a Google+ Page, you first need to have a personal profile on Google+. Just like in Facebook, you cannot create a Google+ Page without having a personal profile first. You can login using your Google account if you already have one. If you don’t have a Google account, it’s very quick and easy to join. Create our Google+ profile at http://www.google.com/plus.

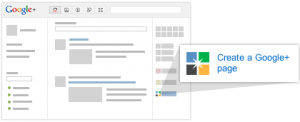
Then you can head to www.google.com/+/business and click on “create your Google + Page”. Here, you will have several options to choose from: Local business or Place, Product, Arts, Entertainment, Sport, Company, Institution or Organization etc.
If you are in any doubt about what category to pick, place your mouse cursor over the category options and it will reveal suggestions for the kind of business you should place in each category. For now, select the “company, institutions or organization” box. Insert the name of your company or brand and the website address,then select the correct category (insurance, health, real estate, etc.). Next choose whether you would like the brand page to be publicly visible to every Google + user, or if you want to put some restrictions in place. I recommend you select “this content is appropriate for any Google + user” as this will increase the exposure of your brand and help you to reach a wider audience. Click on “Create a page” and voila!
Once you have completed the initial steps you then need to choose ten keywords that you can use as taglines for your page (use words that best describe your business). Select a picture or logo to use as the profile picture for your brand page and upload. (I recommend using a company logo if possible). Finally, the time has come to tell everyone in the world, or at least the Google + world that you have arrived.
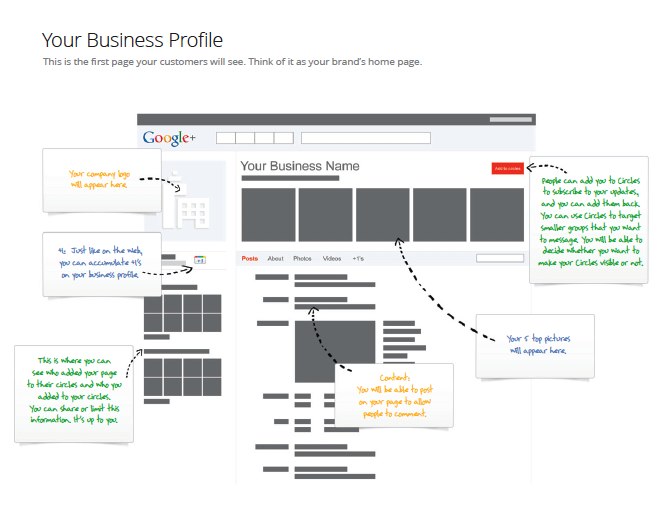
Understand the Anatomy of your Google+ Page

Optimizing your Google+ Page
Once you have completed the basics, Google + will provide a pretty comprehensive walkthrough for you, helping you to get to know the social network better. It will explain, for instance, how you can control pages and how you can use the menus to make your Google + experience a beneficial one. It’s tempting to skip the walkthrough, however, on this occasion I wouldn’t recommend it. Google + has a lot to offer and you don’t want to miss a thing.
Last step, head to your profile page, click on “about” and write your brand/company introduction, adding any photos and contact info along the way. Introducing users to your brand or business is great but, is totally pointless unless you give them all the information.
Share your Google+ Page
Grab your audiences attention and keep in contact with them regularly, the most important part of online marketing is interaction with your fellow users. Post regularly, and keep updating your service or product. This will have Googlers returning time and time again to hear what you have to say.
Last of all, congratulations. You are now the proud owner of a first class Google+ business page, wear it well!
Connect with me at the idaconcpts Google+ Page!


Thanks for this tutorial! I’ve been starting to get a Google+ page going and this helps.
Vicky