I don’t know about you, but many a time I have opened up a new Word document only to be met with the old familiar feeling of intimidation. There are so many fantastic features that seem to be hidden away in an endless array of tool bars and drop down menus.
This intimidation surely has no place. Microsoft has done a wonderful job of making all features of their Office products rather user friendly. My first attempt at completing a mail merge was timid and slow as I familiarized myself with the process and its features. Once familiarized however, this process has become second nature.
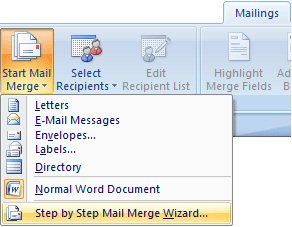
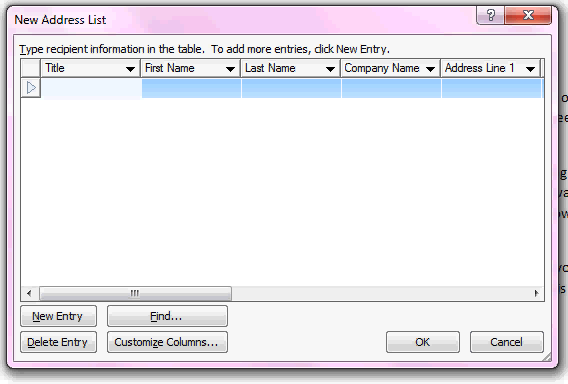
When using Word to create a Mail Merge the first thing to do is go to the Mailings header in your tool bar. Select your recipient list by clicking on the “Select Recipients” icon. For the purpose of this tutorial, we will select and utilize the “Type New List” option in the drop down menu.
You can customize the fields needed such as name, address, phone number, and email by using the customize fields box located in the bottom left corner of the “Address List” window. Once all recipient information is recorded, save the list to a designated folder on your computer.
If you would like to add more recipients or double check that all intended recipients are set to receive your document, you can use the “Edit Recipient List” feature under the “Mailings” heading. Each person designated to receive your document will have a checkmark beside their name.
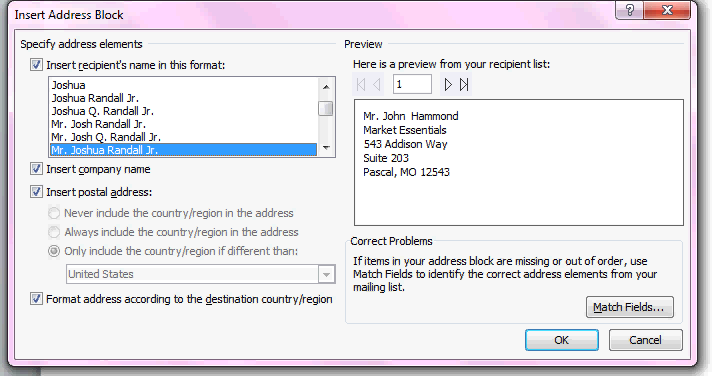
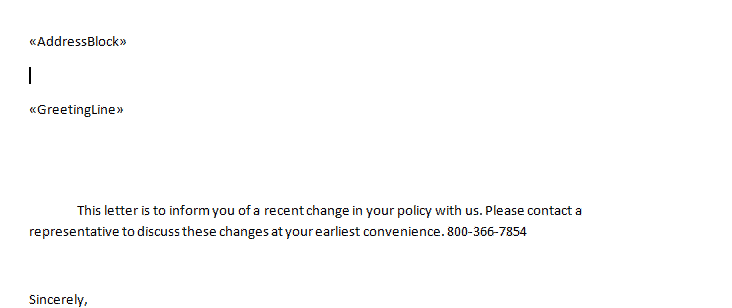
Now it is time to set up your document. For the purpose of this tutorial we will be composing a form letter. Under the “Mailings” header you will see an “Address Block” option. Choose the format you wish to use and place it at the top of your letterhead. Do the same with the “Greeting Line” feature and continue composing your letter as you would any other document.
Prior to finishing the merge and sending my documents to print, I like to use the “Preview Results” feature under the “Mailings” header to be sure that the document is formatted to my liking.
Upon completing the letter, you can then click on “Finish & Merge” in the “Mailings” tool bar. If needed, you can utilize the “Edit Individual Documents” prior to sending your merge to print should a specific letter require any special attention.
Upon sending your letter and envelopes to print, you have successfully completed a form letter mail merge. How’s that for easy!


One thought on “How to Use Mail Merge Lists in Word”
Comments are closed.